Best Bioactive Drainage Layer for Amphibians: Materials Guide
This post contains affiliate links. As an Amazon Associate I earn from qualifying purchases. Prices and availability are shown by Amazon and can change.
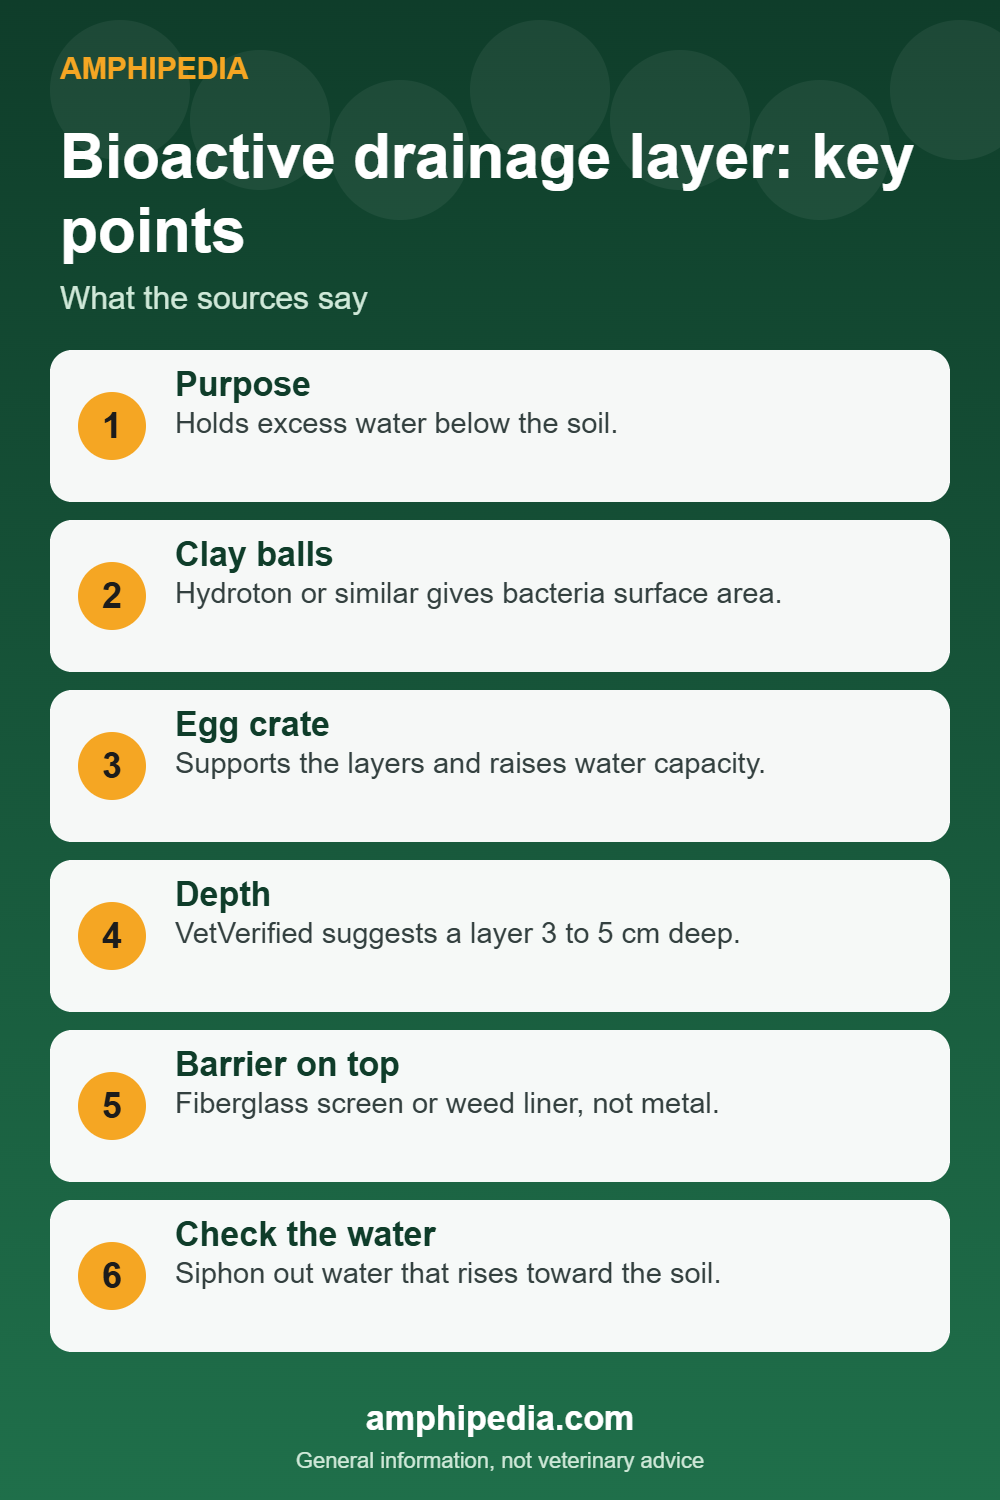
The bioactive drainage layer is the reservoir at the bottom of a planted tank. DartFrog.pet names Hydroton or similar clay balls, which give surface area for beneficial bacteria, and egg crate frames that raise the layers above. VetVerified suggests a layer 3 to 5 cm deep, separated from the soil by mesh or weed membrane. Rinse the material, test the drainage, and check the water level regularly.
A drainage layer gives excess water somewhere to go. Without it, damp soil can turn soggy in a closed tank.
This guide compares the main materials, shows how to work out how much you need, and explains how to look after the layer. For the barrier that sits on top, see our drainage mat guide.
How this was made: prepared with AI assistance and checked against the sources listed at the end. Images are AI-generated illustrations, not photographs of real animals or products.
Key Takeaways
- The layer holds excess water below the soil so roots and animals stay out of standing water.
- DartFrog.pet names clay balls such as Hydroton and egg crate frames as materials.
- VetVerified suggests a drainage layer 3 to 5 cm deep under mesh or weed membrane.
- A barrier on top stops soil from clogging the layer.
- Inspect the reservoir regularly and siphon out water that rises too high.
Pin this infographicShare on Facebook
Clay balls and drainage media to compare
These listings include clay balls and terrarium drainage media. Rinse any material before use, choose plain products without added fertiliser, and add a barrier above the layer.


Product titles, prices and ratings are provided by Amazon and are accurate only at the time they are displayed.
What the drainage layer is for
Misting and watering add more moisture than a closed tank can lose. The extra water drains down through the soil. A drainage layer holds that water in the open spaces between its pieces, below the soil.
DartFrog.pet says water drains through to prevent soil saturation and stagnation. If water and soil mix, the tank can develop bacterial and fungal problems that affect frogs.
Materials you can use
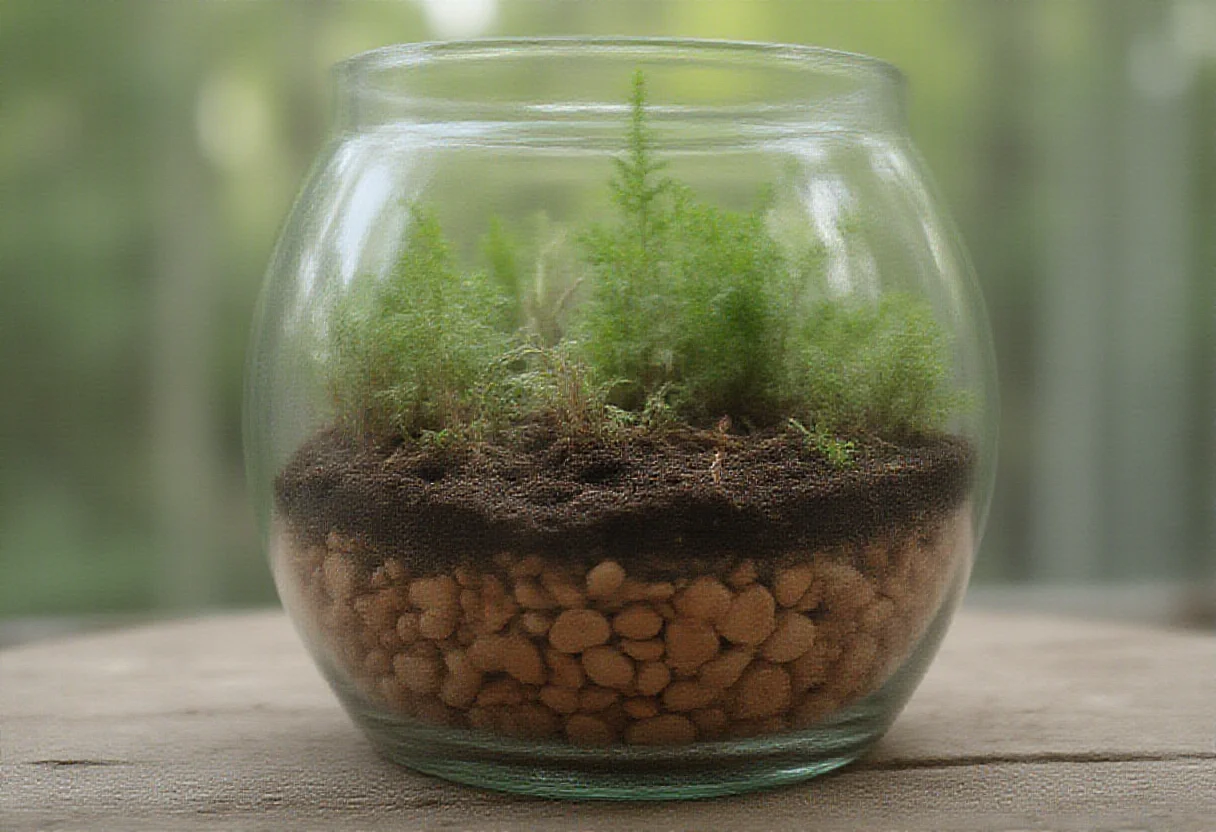
The sources name a small set of materials. Compare them using the points below, then follow the maker notes for your chosen product.
| Material | What the source says | Points to check |
|---|---|---|
| Clay balls (Hydroton or similar) | DartFrog.pet says they provide surface area for beneficial bacteria that break down wastes | Rinse before use; size should let water move freely |
| Egg crate (plastic light diffuser) | DartFrog.pet cuts and zip-ties it into a box that supports the layers above and lets the tank hold more water | Use plain plastic; cut edges smooth |
| Fiberglass screen or weed liner | DartFrog.pet uses it as the barrier, not as the reservoir | Do not use metal |
| Aquarium-grade charcoal | A light layer above the barrier absorbs ammonia (DartFrog.pet) | Rinse first |
How deep should the layer be?
VetVerified suggests a drainage layer 3 to 5 cm deep, separated from the substrate by mesh or weed membrane. That advice comes from an article on arboreal set-ups, so adjust it for your tank height and species.
DartFrog.pet gives no set depth. It notes that egg crate allows a taller drainage layer while using less material. A deeper reservoir holds more water, but it leaves less room for soil and roots. Aim for balance.
How much material to buy
Work out the volume. Multiply tank base length by width by the depth you want, in centimetres. Divide by 1,000 to get litres.
For example, a base of 60 by 45 cm with a 4 cm layer is 10,800 cubic centimetres, or about 10.8 litres. Buy a little extra, because the material settles and some will be lost to rinsing and trimming. Egg crate reduces the amount of loose material needed.
What to check before you buy
Compare these points, whatever brand you choose.
- Clay balls that are a uniform, medium size so water can flow.
- A product stated to be pH neutral and free of added fertiliser or coating.
- Sold for plants, reptiles or amphibians, or clearly plain clay.
- Plastic egg crate panels that fit your tank base with minimal trimming.
- A bag size that covers your calculated volume.
- No dust when you pour. Rinse anything that does.
- Clean, uncoloured material with no strong smell.
How to build the layer
Follow this order and test as you go.
- Rinse the material in plain water until it runs clear. Do not use soap.
- Dry-fit any egg crate panels in the empty tank before you commit.
- Spread the layer evenly. Level it so water spreads rather than pooling in one corner.
- Lay the mesh or weed liner over the top and test with a jug of water. It should pass quickly.
- Add a light charcoal layer, then the soil.
- Add a way to check the water, such as a siphon tube or a capped drain pipe, as DartFrog.pet describes.
Maintenance
DartFrog.pet advises inspecting the layer regularly and siphoning out water that rises high enough to reach the soil. Do this every week at first and note how fast it fills.
If the water smells stale or looks cloudy, remove it and reduce your misting. Our frog tank cleaning guide covers safe cleaning steps. Wear gloves and wash your hands afterwards because amphibians can carry Salmonella.
Reusing and replacing the material
Clay balls last a long time. When you rebuild a tank, rinse them and check that they still drain well. Throw them away if they smell sour or look coated with slime.
MSD notes that heat and freezing can reduce pests in soil and substrate. It gives 93 C for 30 minutes, or below 0 C, for substrate. Do not apply those steps to a material unless the maker says it can take the heat.
Related parts of a bioactive tank
The layer is one part of a system. A barrier keeps soil out. Soil, leaf litter and clean-up insects do the rest.
See our guides to mesh barriers, bioactive substrate, leaf litter and springtails and isopods.
Common mistakes
These mistakes are easy to avoid.
- Skipping the barrier so soil fills the reservoir.
- Using metal mesh that can rust.
- Never checking the water level.
- Using sand or fine gravel as a top substrate. VetVerified lists both as materials to avoid.
- Making the layer too thin to hold useful water.
- Forgetting to rinse dusty material.
Gravel: fine below the barrier, risky on top
Sources seem to contradict each other on gravel. VetVerified lists clay balls, gravel or specialist drainage media for the drainage layer. The same article tells keepers to avoid sand, gravel and dry reptile substrates for the top substrate.
The two statements fit together. Under a barrier, gravel is a water store. On top, it is something an animal can sit on, dig in or swallow. The MSD Veterinary Manual says gravel used as a substrate should be too large to swallow or small enough to pass in feces.
DartFrog.pet names Hydroton or similar clay balls for the drainage layer, so that is the safest match for a dart frog tank. Whichever you choose, the barrier above it is what keeps animals and soil out of the reservoir.
Keeping the water level under control
The drainage layer only works if water stays below the soil. Two sources describe how keepers check this.
DartFrog.pet says to check the drainage layer regularly so water does not rise into the soil, and to siphon it out if it does. It lists a PVC pipe to the drainage layer, a drain pipe in the glass or a siphon tube as options.
Josh’s Frogs, writing about false bottoms, says not to let water rise above the drainage layer, because it can flood the soil. It advises draining when water comes within about an inch of the top of the false bottom.
- Fit a drain pipe or siphon route when you build the tank, so you do not have to tear it down later.
- Note how fast the layer fills after a heavy misting.
- Do not mist harder to fix a dry spot if the layer is already near full.
Troubleshooting a drainage layer
Use this list when something looks wrong. Where a source does not name a cause, the fix is a cautious first step, not a diagnosis.
- Water pools on top of the soil: the barrier may be clogged, or the layer below may be full. DartFrog.pet says to test that water passes easily through the barrier.
- Soil is visible in the reservoir: the barrier has failed or has a gap. Rebuild that edge before the layer fills with fines.
- The reservoir smells sour: siphon it out and reduce misting, as the maintenance section above says.
- Humidity is low even though the layer is full: check ventilation. Josh’s Frogs says ventilation determines how often you need to mist.
Airflow above a wet base
A water reservoir raises humidity from below, and that changes how much airflow the tank needs. VetVerified advises front and top ventilation and says fully sealed enclosures should be avoided. It also says mesh-sided enclosures are unsuitable for amphibians because they lose humidity.
The MSD Veterinary Manual recommends one to two fresh air changes per hour to help prevent disease. DartFrog.pet says a glass top helps retain humidity. Together they point to a tank with a mostly closed top and a planned vent, not a sealed box and not an open mesh cage.
If you add a drainage layer to an existing tank, watch the hygrometer for a week and adjust the vents before you change the misting.
A simple check schedule
VetVerified gives a general cleaning routine for arboreal terrariums: daily checks of temperature and humidity, weekly spot-cleaning and mould inspection, and monthly equipment inspection. It is written for non-bioactive set-ups, so adapt it. A bioactive tank with a drainage layer would add one more item.
- Daily: look at the glass and the surface. Do you see pooled water?
- Weekly: check the water level in the layer and inspect for mould.
- Monthly: look at the barrier edges, drain pipe or siphon and equipment.
- After any rebuild: rinse materials and test the flow before adding animals.
Frequently Asked Questions
What is a drainage layer?
It is a reservoir of clay balls, egg crate or similar material that holds excess water below the soil.
What materials do care guides name?
DartFrog.pet names Hydroton or similar clay balls and egg crate. VetVerified mentions a drainage layer under mesh or weed membrane.
How deep should it be?
VetVerified suggests 3 to 5 cm.
Do I need a barrier?
Yes. Without a separator, soil can wash into the drainage water, per DartFrog.pet.
How do I empty it?
Use a siphon tube or a capped drain pipe. Remove water that rises toward the soil.
Is gravel a good topsoil?
No. VetVerified lists sand and gravel as substrates to avoid.
Bottom Line
A good drainage layer is simple: plain clay balls or egg crate, a safe barrier and a way to check the water. Build it before you plant.
If your animals show skin changes or stop eating, see an exotics vet. The ARAV directory can help you find one.
Sources
- DartFrog.pet: Dart Frog Vivarium Set-up, accessed 12 November 2026
- VetVerified: How to set up a terrarium for arboreal species, accessed 12 November 2026
- CDC: Reptiles and Amphibians. Used for: Salmonella and hygiene
- MSD Veterinary Manual: Environment and Husbandry for Amphibians, accessed 12 November 2026
- Josh’s Frogs: Maintaining Your Vivarium, accessed 12 November 2026

7 Comments